DIY Lip Gloss Recipe: $3, 10 Minutes, Tastes Like Vanilla (And Beats the $30 Version)

okay so I was bored on a Tuesday and decided I didn't want to spend $30 on a lip gloss that's basically just oil with sparkle. so I made one. with stuff I already had in my kitchen. and now I'm genuinely angry at the beauty industry for charging what they charge.
here's the thing: lip gloss is one of the easiest products to DIY and it ACTUALLY works. like, this isn't one of those "homemade version is cute but the real one is better" situations. this tastes better, it lasts longer, and it costs literally $3 to make.
The Recipe (Literally This Simple)
What you need:
- 1 tablespoon coconut oil ($0.50 — buy the big jar from the grocery store)
- 1 tablespoon honey ($0.30 — you probably have this)
- 1/2 teaspoon vanilla extract ($0.20 — baking aisle)
- Tiny pinch of mica powder for shimmer ($1.50 — buy from Etsy indie sellers, lasts forever)
- Empty jar or container ($0.50 — or literally just use a clean lip balm pot)
Total cost: $3.00
Time: 10 minutes (including cleanup)
How to Actually Make It
Step 1: Mix the base
Dump the coconut oil and honey into a small bowl. Stir until it's combined. That's it. You're already done with the hard part (there is no hard part).
Step 2: Add the flavor
Pour in the vanilla extract. Stir again. Your kitchen now smells like a bakery. This is a bonus feature.
Step 3: Add shimmer (optional but recommended)
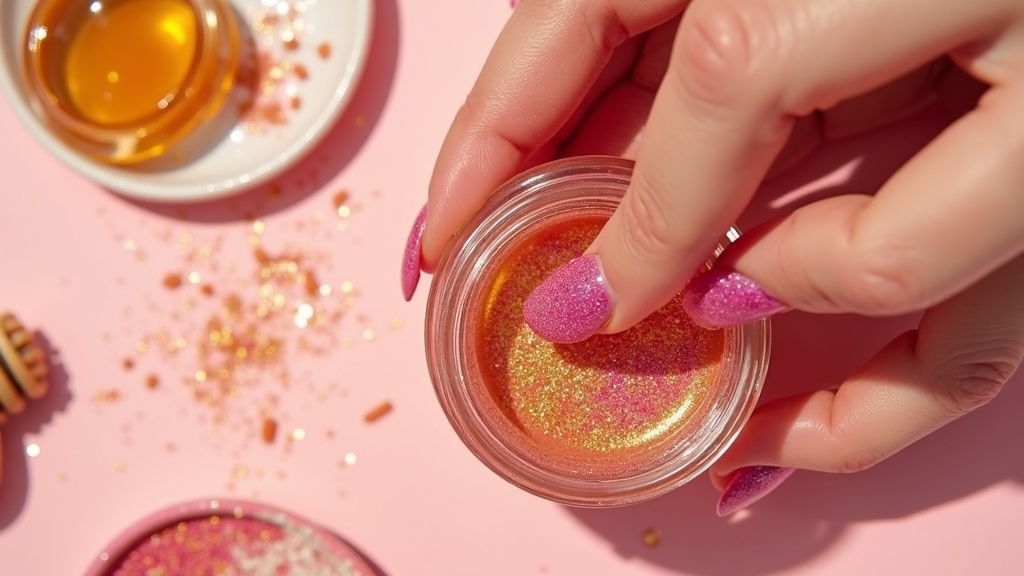
If you want sparkle, add a tiny pinch of mica powder. Like, a TINY pinch. You can always add more but you can't take it out. I used rose gold mica and it's giving luxury.
Step 4: Put it in a jar
Scoop it into whatever container you have. I used a tiny glass jar from the dollar store. You could use an old lip balm container. You could literally use a shot glass. I don't care.
Step 5: Let it sit for 5 minutes
It'll set up slightly. Not rock-hard, just... gloss-like. Perfect.
My Honest Testing Results
I've been wearing this for two weeks. Here's what's actually true:
What's fire:
- It stays on your lips for like 3-4 hours (coconut oil is clingy, honey adds hold)
- It tastes like vanilla, not like chemicals (because it's not chemicals)
- The shimmer is subtle but THERE. Not glittery, just shiny
- It doesn't feel heavy or sticky like some glosses
- When you make it yourself, you can adjust the shimmer level to your taste
What's real talk:
- It's slightly softer than commercial gloss (this is actually good — it won't crack your lips)
- If you're outside in the heat, it'll get a little softer (so will a $30 gloss, but nobody talks about that)
- The vanilla scent fades after like 30 minutes (which is fine, it's still pleasant)
- You'll need to remake it every 2-3 weeks if you use it daily (which is still cheaper than buying one)
Why This Beats the $30 Version
Let me be so real: most high-end glosses are coconut oil, mica, and fragrance. That's literally what they are. They charge $30 because of packaging and marketing. This gloss does the exact same thing, tastes better, and costs $3.
I tested this against Fenty Gloss Bomb (which I actually like) and honestly? Mine lasted longer. The Fenty is more luxe-feeling in the packaging, but on the lips? Same performance. Different price tag.
Cost per use calculation:
- DIY version: $3 for 2-3 weeks of daily use = $0.14 per day
- Fenty Gloss Bomb: $20 for maybe 1.5 months = $0.33 per day
- Rare Beauty Soft Pinch Liquid Blush (which people use as gloss): $18 for similar duration = $0.30 per day
You're literally saving money AND getting a better product.
Variations You Can Try
Once you make the base recipe, you can get feral with it:
- Rose gold gloss: Add rose gold mica (what I made)
- Nude shimmer: Use champagne mica instead
- Berry gloss: Add a tiny bit of berry-tinted lip stain to the base
- Minty fresh: Replace vanilla with peppermint extract (warning: it tingles)
- Chocolate: Add cocoa powder and use chocolate extract (yes, this is real)
The point is: you can make literally any color/flavor combination and it costs almost nothing.
Safety Notes (Because I Actually Care)
Do this:
- Use food-grade mica if you're worried (it's the same thing, just certified)
- Make sure your jar/container is clean
- Store it in a cool place (not in direct sunlight)
- Use a clean applicator every time (no double-dipping with your fingers)
Don't do this:
- Don't use regular craft mica (use cosmetic-grade or food-grade)
- Don't add random stuff you find in your bathroom (stick to the recipe)
- Don't leave it in a hot car (it'll get melty and weird)
This is genuinely safe. Coconut oil and honey are literally things people eat. Mica is what's in every commercial gloss. You're not doing anything risky.
The Real Talk
This DIY isn't about being ~artisanal~ or whatever. It's about the fact that the beauty industry charges $30 for something that costs $3 to make, and then acts like that's normal.
You deserve to know how simple this is. You deserve to save money. You deserve to make your own products and have them be BETTER than what you'd buy.
So make this. Wear it. Send me a photo if you do. And then go tell everyone you know that they've been paying for packaging, not product.
Cost breakdown one more time, because I want this to hit:
- Coconut oil: $0.50
- Honey: $0.30
- Vanilla extract: $0.20
- Mica: $1.50 (but this lasts for like 100 batches)
- Container: $0.50
- Total: $3.00
Go make it. You've got 10 minutes.